ConfluxHR has a specialized Leave Management Module for handling the leave type and details of your HRMS-enrolled personnel.
Employees can use this online Leave Management Module to request any leave customized according to the company norms and rules. Employees enrolled in the ConfluxHR system can apply for the preset ‘Type of Leave’ online via the Leave management module. Furthermore, officials with Leave Processing Privileges can process/approve/sanction employee leaves.
The HRMS users are given access to leave management modules based on the ConfluxHR user privileges provided to them.
ConfluxHR’s Leave Management Module is a comprehensive system consisting of the following:
For the Employer
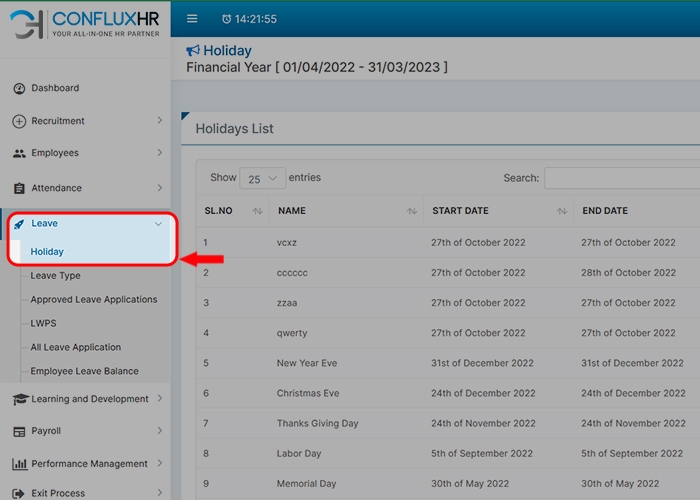
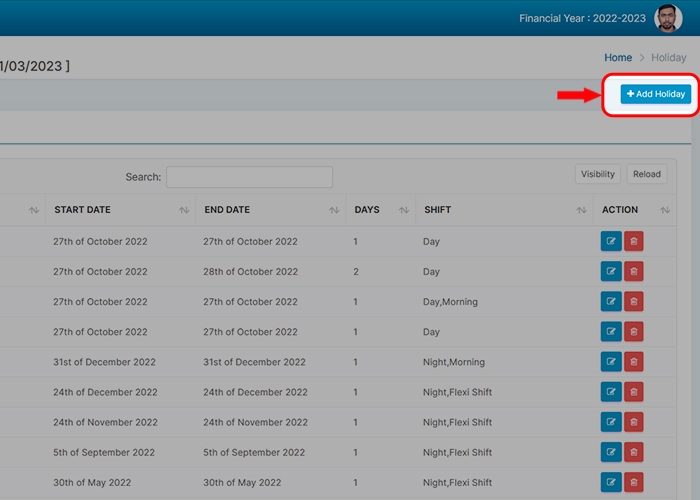
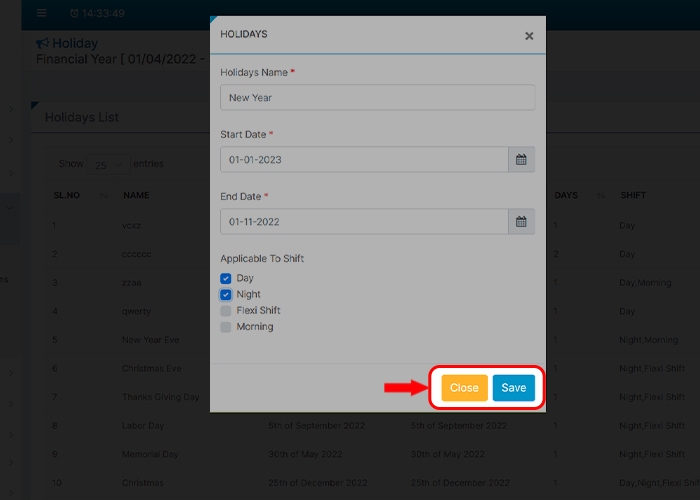
This submodule defines your employees’ holiday schedule for the entire financial year. Based on the company norms and rules, you may enlist, edit and delete any number of holidays to your staff.
How can I customize the Holiday Calendar?
The newly added holiday is now included in the holiday list. Using the ‘Action’ buttons, you can change and delete the holidays you’ve created.
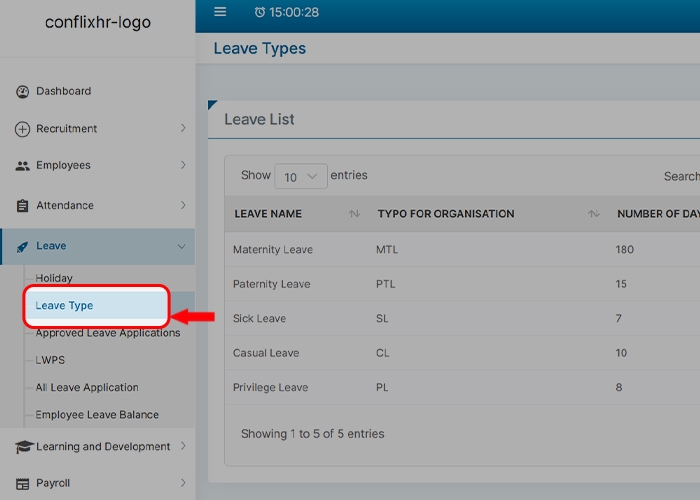
This sub module allows you to enroll, edit, enable, disable, and describe the types of leaves an employee may take. It also automatically detects an employee’s gender when allocating unique leaves.
(For example, the system can detect if a male employee is attempting to use the maternity leave option and prevent him from applying.)
What types of leaves can I enlist?
To mention a few, you can enlist the following types of leaves based on the employee leave eligibility: Maternity Leave, Paternity Leave, Marriage Leave, Sick Leave, Casual Leave, Privilege Leave, and other benefits.
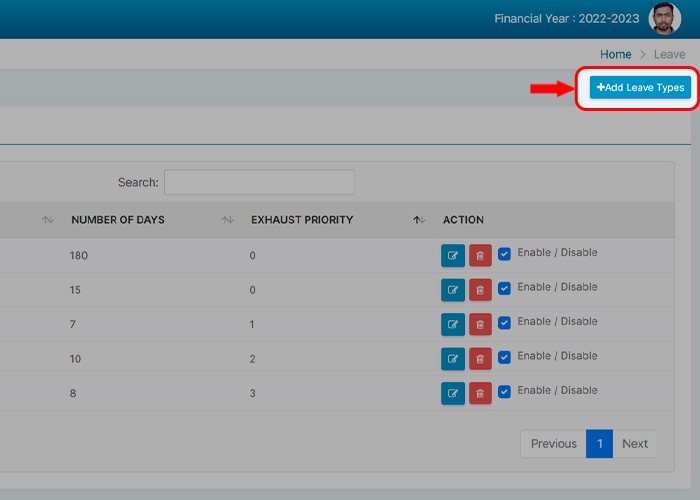
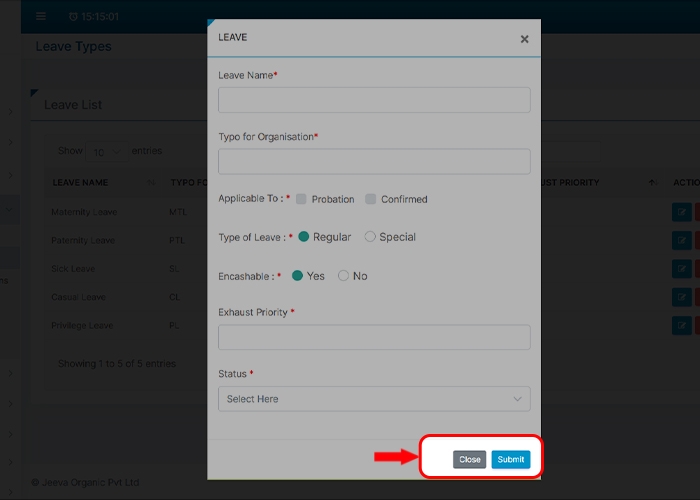
How can I add different types of leave?
You can now view the listed leave type under the ‘Leave List’ tab. You may also edit, enable, disable and delete the leave type using the action buttons.
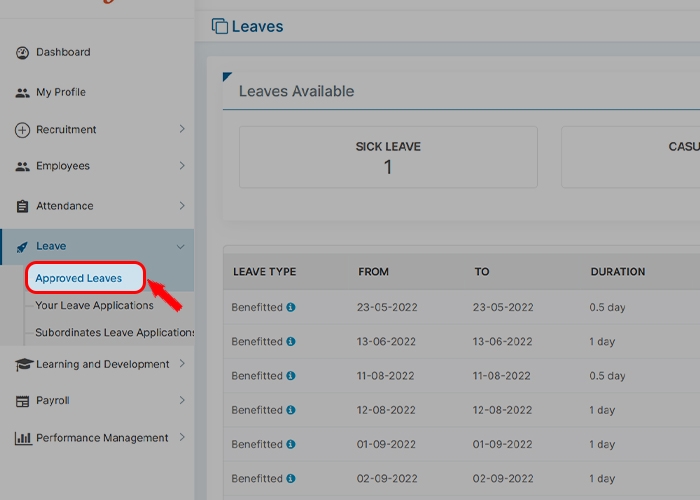
This submodule has the total approved leave applications initiated by each employee, along with their employee code, leave type and the duration of their leave. You can view and delete any employee’s leave applications for any financial year, as needed.
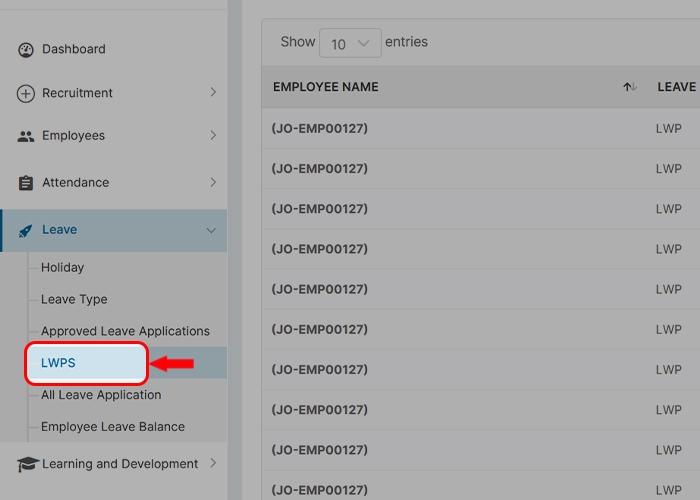
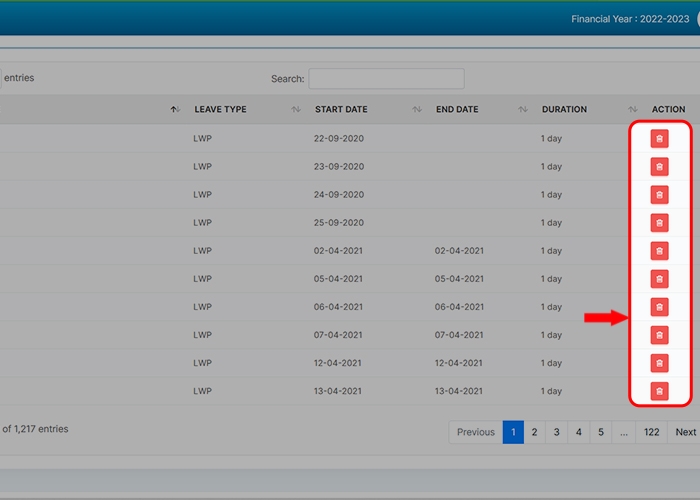
This submodule allows you to view employee leaves taken for any fiscal year or date and their duration and reason for the leave. It depicts the leaves taken without the privilege of being compensated.
How to delete a wrongly attached LWP?
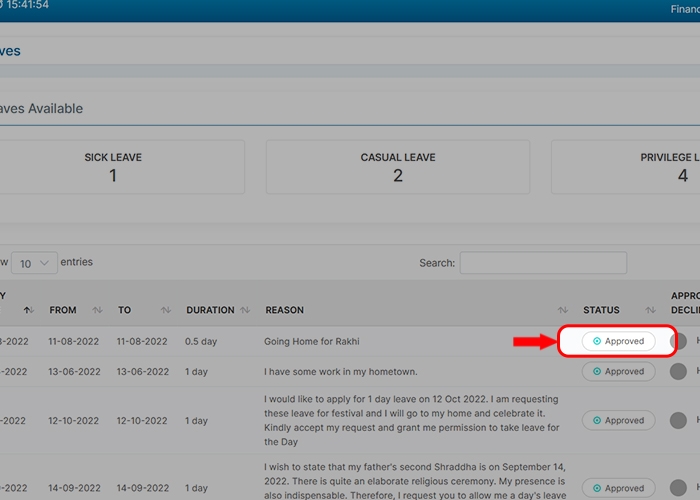
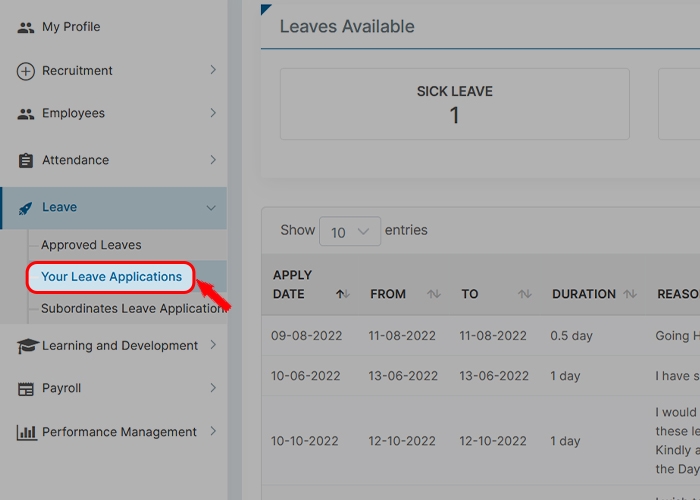
This submodule allows for the seamless management of all employee leave requests, both pending and authorized. It displays the employee ID, leaves type, duration, and leave application status.
This module displays the employee ID, employment type, employee name, and the balance of sick leaves, casual leaves, and privileged leaves (Maternity Leave, Paternity Leave). This module allows you to examine and manage staff attendance.
What are SL, CL, and PL?
SL – Sick Leave;
CL – Casual Leave;
PL – Privilege Leave
Only the employee has access to this section. It can help the employee properly prepare the work schedule for the day when working in groups.
For the Employee
This submodule lists your holiday balances in a tabular format. It allows you to view your weekly, monthly and yearly official leaves.
How can I check my official Holidays?
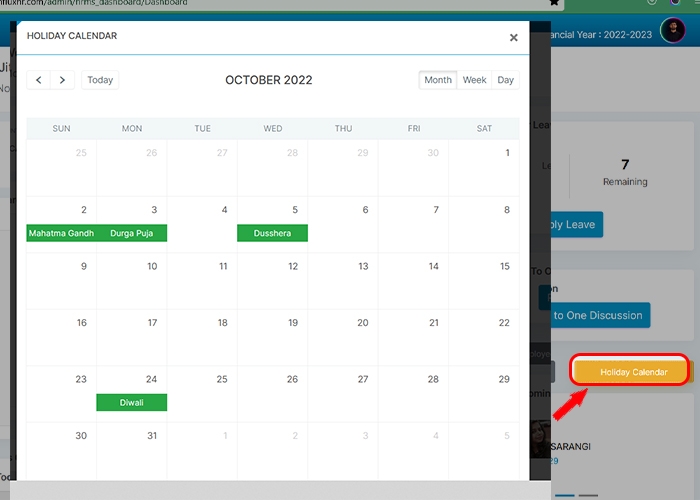
You will see your allotted holidays in your ‘Holiday Calendar,’ which will be available in the lower right corner of your dashboard screen.
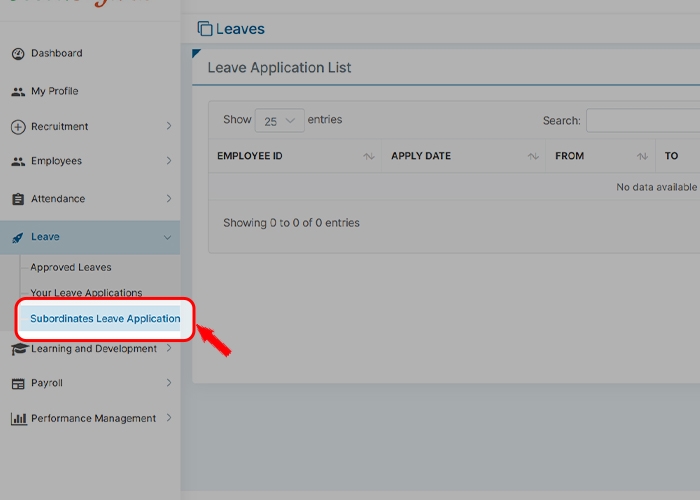
Access to this portal is limited to the higher management.
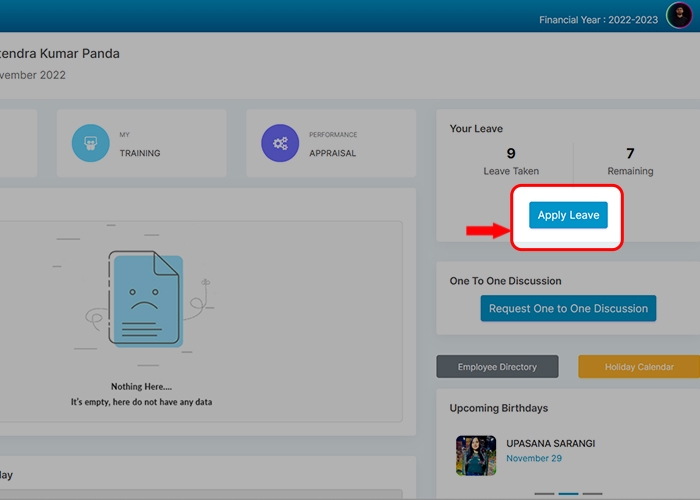
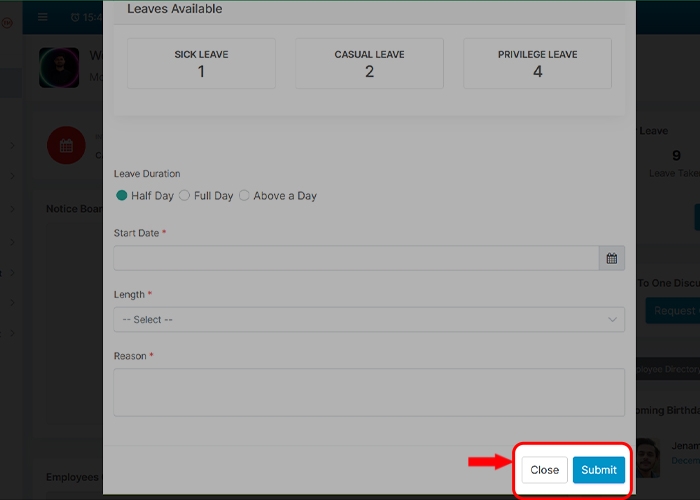
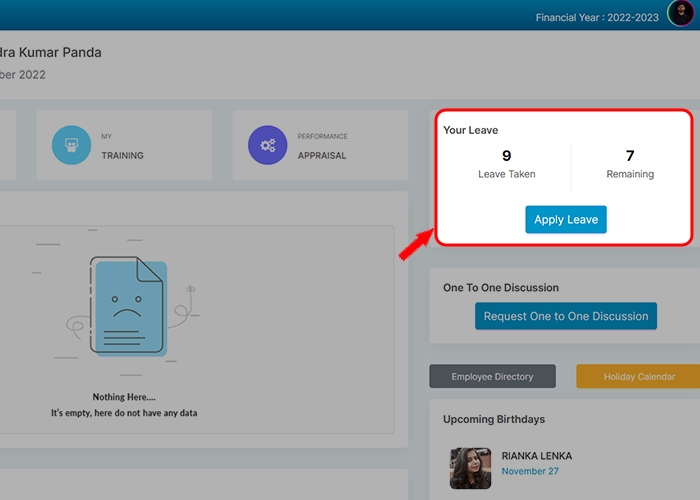
How can I Apply For a Leave?
This portal can only be accessed by higher management.
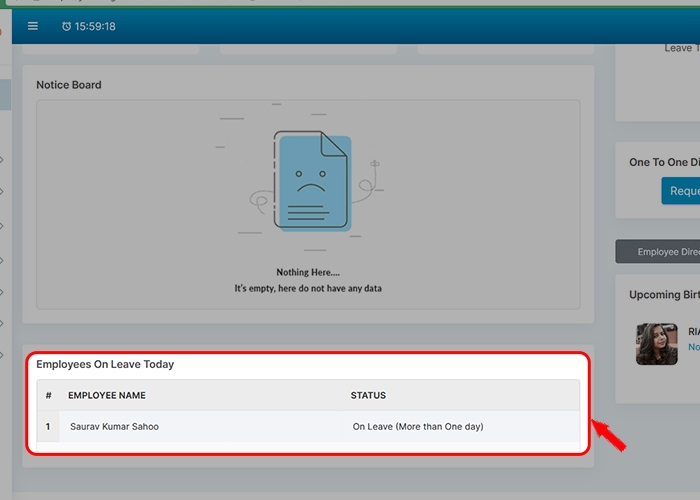
You can check for your teammate’s presence and arrange any work before the day begins. This submodule reduces the burden of unregulated work due to teammate absenteeism. It includes your subordinates’/colleagues’ employee name, ID, and leave status.


